PLEASE NOTE: all the following instructions relate to the use of a Microsoft Windows device (laptop/desktop) only. Return to the homepage to find manuals for other devices.
¶ Introduction
As part of the Church drive to move Church records on-line (mostly for reasons of compliance to GDPR requirements), and also to provide “Church” email accounts to Session Post-holders (again largely to shield users from hacking and spam), The Church IT Committee has set up a number of accounts that give these users:-
- An “@bishoptonkirk.org.uk” email address – this is set up on a Gmail account; and
- Access to a Church G-Suite Google Drive. This drive is a “cloud based” storage and backup space with strong security features.
Each of those persons with a @bishoptonkirk.org.uk email address will gain access to a 30GB storage space .
The main use of the drive will be for Post-holders to transfer Church-related records from their own personal computers (desktop, laptop, tablets etc.) to the cloud-based storage.
Users can decide whether or not they wish to retain “original” copies of these records on their own equipment (this means that they can be worked on offline, and that changes made on the personal machine will be copied to the corresponding “cloud” record when the user next goes back on-line), or (preferably) move all their records on-line and remove them from their personal machine.
In either case, the on-line records will be accessible directly by the Duty holder, but can also be “shared” with other Duty holders or selected members of the Duty Holder’s team / committee.
A very significant advantage of this arrangement is that, when the Duty Holder retires from the post, the on-line records can be easily re-assigned to the new post holder.
The “Manager” has full access rights to the shared drive, while others may have more limited access rights, right down to “read only”. In general, drives and the documents within them will be shared only with those persons who have a valid reason for being granted the level of access e.g. to allow them to add or remove files, and to make editing changes.
¶ Setting up your email account.
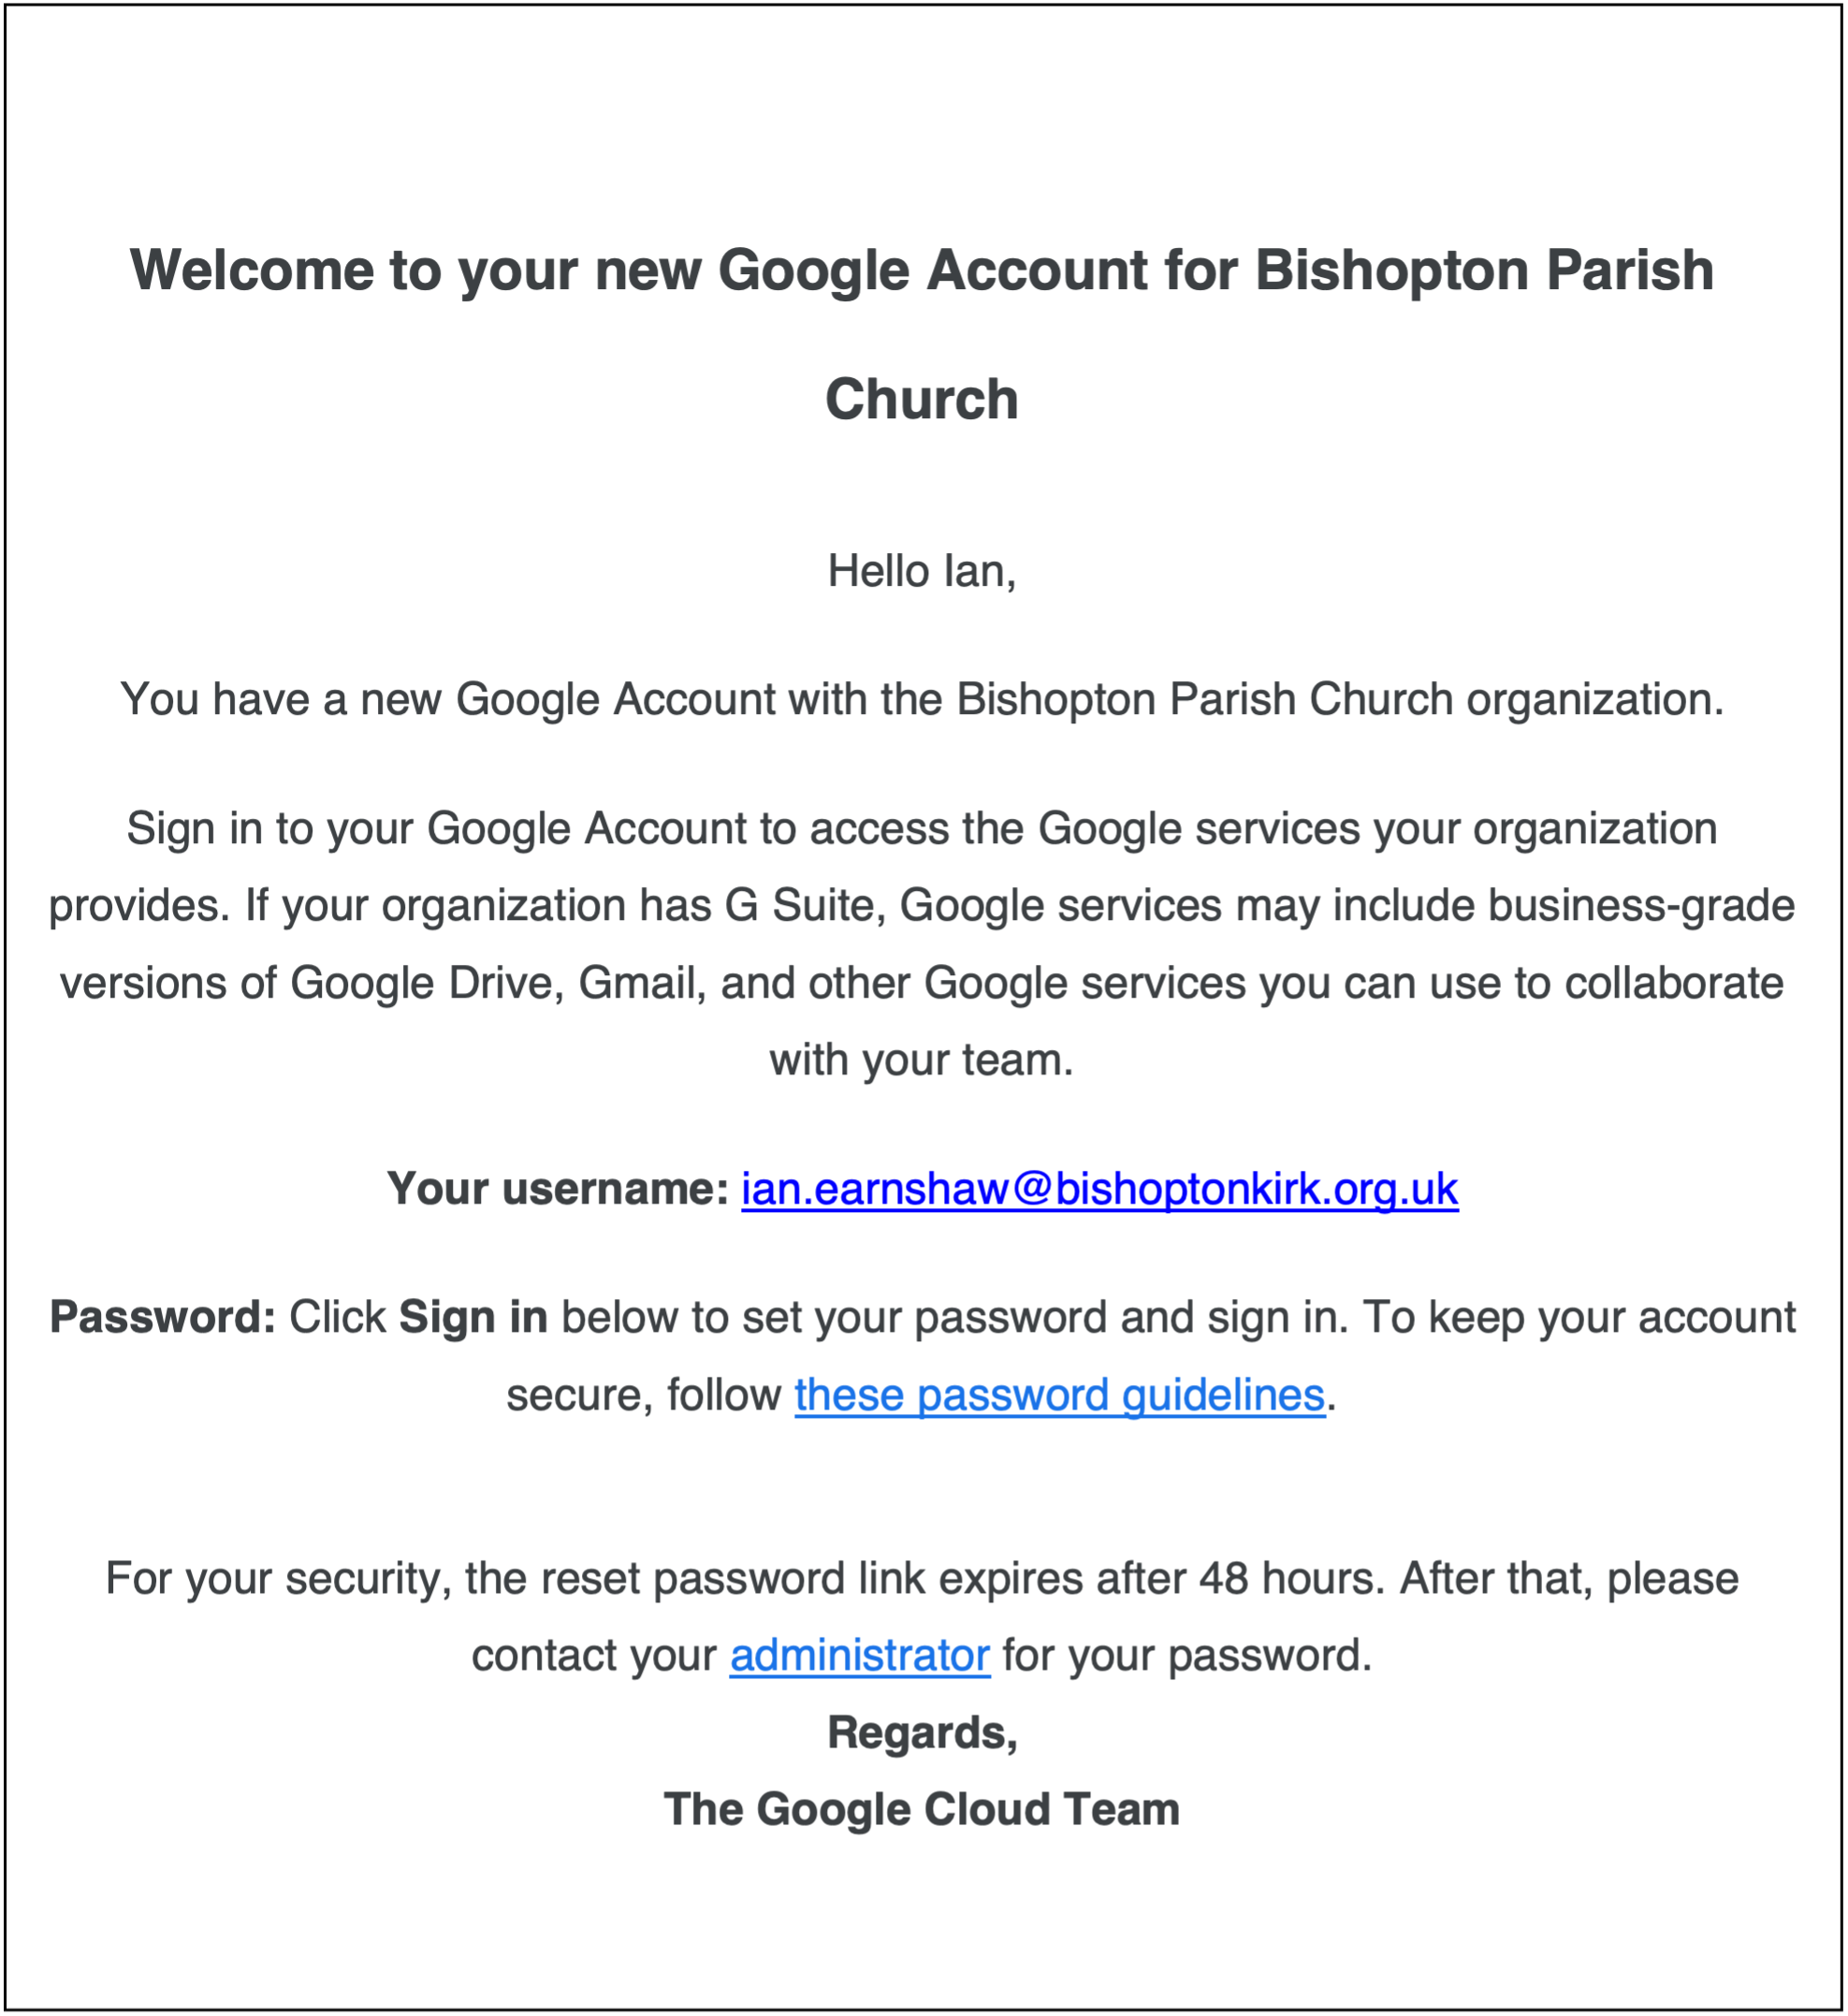
You need to be “invited” to set up your account by means of an email sent to your current email account (the one you have been asked to provide) sent by The Google Workspace Team – see example below.
Click the “Sign in” button and follow the instruction. This will set up a new Google account for you. From there you can download and install Drive and Gmail.
You can now start to use your new email account. Generally, the email address will be “[email protected]. If you already use Gmail, this account can be added to your Gmail inbox etc application.
If you don’t use Gmail at present, but use an application such as Outlook to access your email account, you can add the new address as a new account. For Outlook, this involves going to File/Account Settings/New, then use the Wizard that will appear to add your account name and password. It doesn’t always work and you may have to download Gmail and add the account there, after which Outlook may be able to find the necessary account settings.
You can also set up access to your @bishoptonkirk email using your smartphone. Please follow the relevant smartphone instructions to do this.
¶ Setting up your Google Drives.
To get to your Google Drive, navigate (the top box on the page) to drive.google.com, and your drive should open. You can also search for Google Drive via Google.
NOTE: if you already have a Google Drive in your name you may have to go into it and change over the default settings.
To show you are on the correct drive, the Church logo (Erskine Bridge!) will appear alongside the dark blue circle. You will also see on the LH side that you have options for both “My Drive”, and “Shared Drive”. 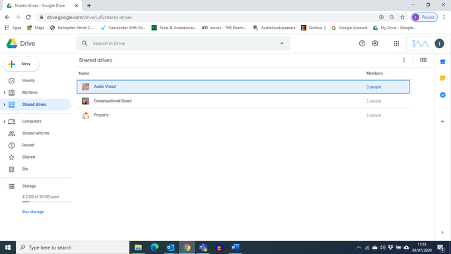
Select “Shared drives” where you can start to add one or more drives to share.
However, before adding drives, you should have considered what data you want to upload. You may not wish to share some of it, and/or may wish to share certain bits of data with some persons but not with others.
To facilitate this, you should firstly work out what you want to upload and then set up that data into folders with recognisable names (see example). This is best done on your personal machine before you start trying to upload it to the Google Drive!
¶ Downloading Drive for Desktop (File Stream)
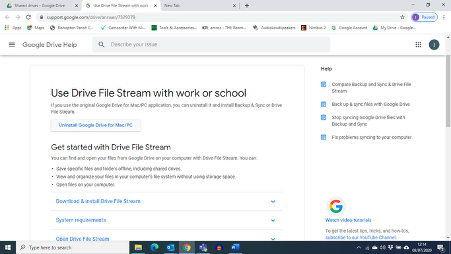
It is highly advised to download the Drive for Desktop application to allow you to access Google Drive files from your own PC File Explorer, instead of trailing away onto Google Drive etc. To install, go to the “settings” icon on the top RHS of your Drive page and click on it. This opens a drop-down box with 3 options. Select “Get Drive for Desktop”. The screen below should open:- !
Select “Download and install Drive Filestream” and follow the instructions from there. Once installed you should see on Running Programs taskbar (bottom RHS) a small icon labelled “Drive File Stream”. You should also see that a new folder has been added to your computer labelled “Google Drive File Stream”.
¶ Adding files to your drives
Once you have decided what your preferred file structure is to be, start to add the necessary Drives to either / both the “Shared Drives” folder and the “My Drive” folder. Add only the top-level folder/drive names at this stage. With the selected drive highlighted/selected, click on the “New” button to add a Drive/Folder, give it the appropriate name and click “Create”.
If you are NOT going to synchronise your Drive and personal computer, you can now simply add all the files you will want uploaded by clicking onto a drive to open it and then clicking the “New” button. A drop-down list appears, allowing you to add a folder or to upload a folder or file. Browse through your computer locations to find the file/folder to be uploaded and select them. Upload will commence.
If you ARE going to synchronise your Drives and computer, it is probably best at this stage to add only the top-level drive names. If all is well, you should see the Drive File Stream icon start to work, and a copy of your Drive folder structure will appear in the Google Drive folder on your computer.
Once these have been set up, you can now copy all the data you want to copy into the relevant folders in the Google Drive folder. You will again see the Drive File Stream icon come to life, and clicking on it will bring up a pane showing files being transferred and an estimate of time remaining.
Again, the time required for this will depend on your broadband upload speed and on how much other use you are making of your broadband.
In either case, you should be able to track upload progress by monitoring progress on the on-line Drive page.
¶ Sharing Drives
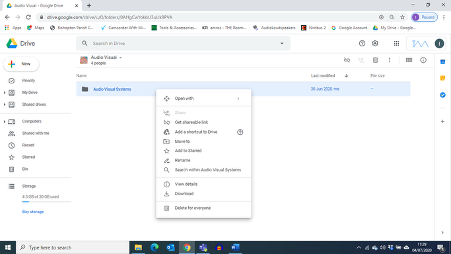
Once all your Drives have been fully populated and you are happy to Share them, you can set up the sharing by
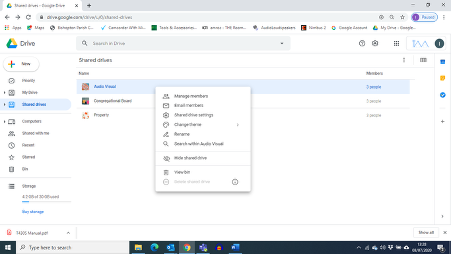
- Highlighting the drive to be shared (it should be at the top level) and right-clicking.
- On the drop-down list select “Manage Members” as below:-
You need to use the Google Drive website to share drives, or alternatively you can right click on the folder and hit "Share through Google Drive" if using File Stream.
You can now add members to Share the Drive with you. Type in the relevant email address, select it from the highlighted pop-up, and click on “Done”. You can add more than one member, following the process above and only clicking “Done” when all have been added to the list.
You can also choose to add a message to the email that will be sent to those you have chosen to add.
Assuming that the chosen members have also set their Drives, a copy of your chosen shared drive will appear in their Shared Drives folder.
Note that you should be careful about the “permissions” you grant to those you are sharing the Drive with. The lowest level of permission is View Only – means what it says. Other options provide increasing ability to edit, add, delete or move files and folders. Google will keep a track of these changes.
Secondly, within a Shared Drive, you cannot amend the sharing rights set up at the top level of the folder/drive. However, if you wish to allow access to a sub-folder or file, this can be done by sending a link to another person (see below). This need not be a person within the Church email structure, but clearly this option should be used with extreme care!
¶ Editing and amending your date on a Shared Drive
If you have chosen to keep your data on your personal machine, any additions, deletions and amendments to data within the drive is best undertaken from the Google Drive File Stream folder. This means you can directly “click” on the chosen file, and it will open then with the native application on your computer (e.g. Powerpoint, Word, Excel). Once you have completed the amendments, the on-line file will be updated to match.
However, if you have chosen to NOT keep the core data on your home computer, the necessary amendments can be undertaken from the files in the Google Drive. Clicking on the file will open a view of the file which is read-only (see below):-
You can open the file for editing by using the Google equivalent of the native format – in the above example, Google Sheets is being suggested rather than the native Excel application.
Selecting that will allow you to edit the file, BUT you cannot then re-save it in Excel format. If you need to keep the file in Excel format, you will have to download it to your computer, work on it there using Excel, and then upload the modified file back to your Google Drive.